
Handmade Chair, How I made a Half Size Tufted Wingback Chair.

This custom handmade miniature chair is slightly bigger than a standard kids size chair (31.5" tall x 25.5" wide) or (80cm x 65cm).

I decided making a chair with leather would be a great way to showcase my upholstery skills. I went with a small chair for a few reasons. First I felt a normal size chair, while it could still look nice was just another chair. By going small it would help grab attention and be clearer that it was custom built. It also made it easier to transport to Wyoming for the competition since I only had a small car. The last reason was cost. It came out to be significantly less since I didn’t need nearly the same about of materials.
After several drawings I started to trace the pattern I had worked out onto some of the materials.

Assembling the main back part of the frame. When I glued, screwed, and/or installed dowels I used shims and weights to even it out and make sure everything dried straight.

When aligning and fitting parts I often used a cutting mat with a grid. Cutting and sanding until the parts fit just right.
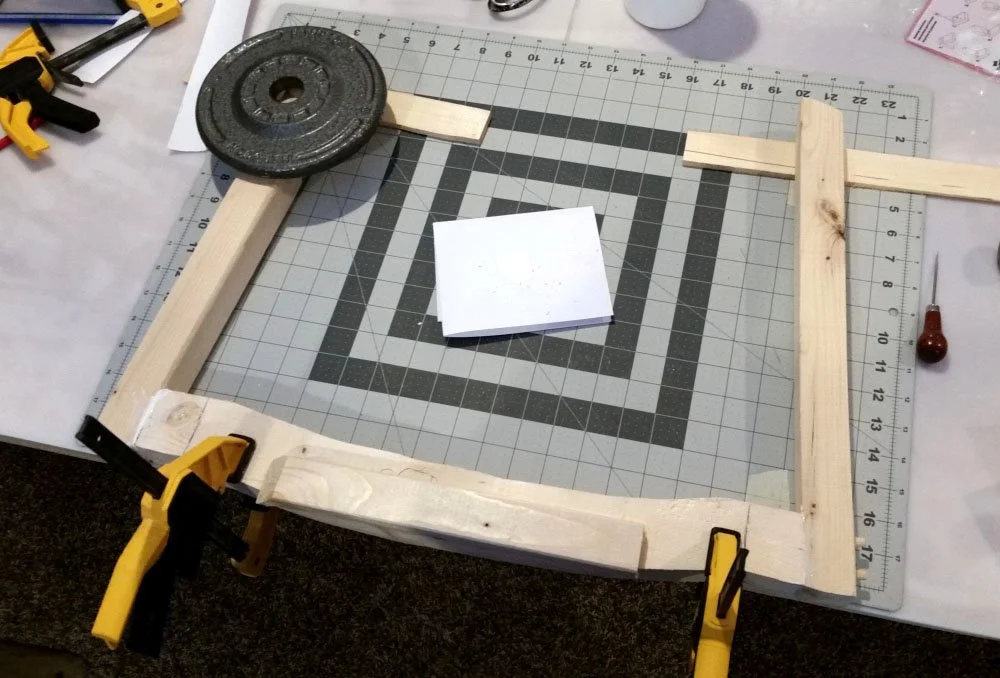
Next, I drilled holes for some dowels. Even though everything was fitted well I placed shims underneath and a weight on top of one side to hold it perfect while the glue set.

Thick pieces of oak can get pricey. I instead glued three pieces together to make the two front legs.

Surprisingly designing the front legs was easier than I anticipated. If it’s astatically pleasing on paper it will usually make a nice looking chair leg.
After you have the pattern drawn on paper. It’s traced on two sides of the wood. As long as the top of the leg where it attaches to the chair meets on the corner edge it will work out.

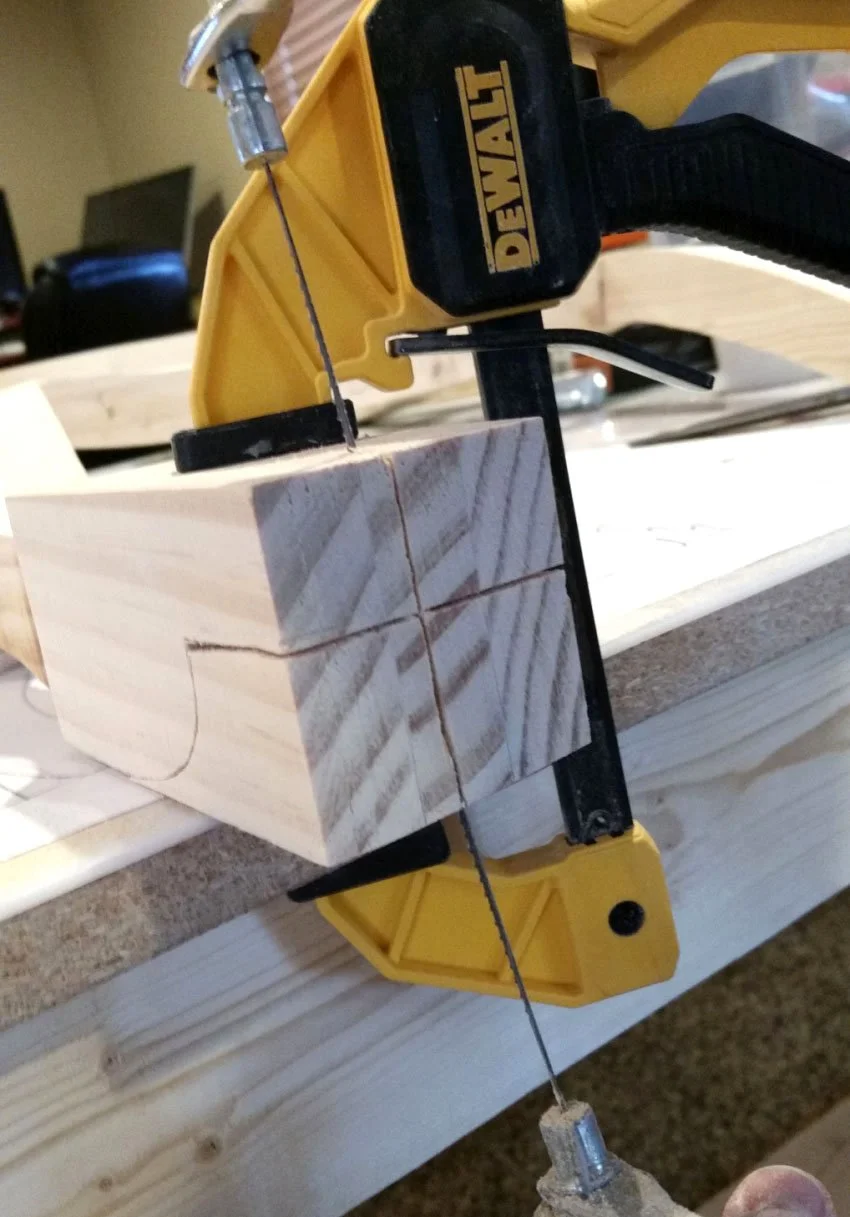
Cutting out the front legs with a coping saw.
By clamping the piece down I could rest my elbows on my knees and use both hands on the saw. This helped keep my cuts straighter.

The coping saw can leave a lot of uneven edges. Using different objects wrapped with sandpaper helped tremendously. It allowed me to sand away a significant amount of wood while maintaining the exact shape I was going for.

When making mirrored parts I would clamp them together. This way I could cut and sand them to match perfectly.

In order to cut out the wing sections I took the 3d shape and turned it into a couple 2d templates. Then cut out the parts using the first profile and glued them together so they were thick enough for the second profile to be cut.
I made sure to cut out each layer with the grain of the wood alternating direction. Otherwise they would be prone to breaking.

Reinforcing the legs with long decorative dowels I turned on my lathe.

Here, I’m fitting the wings. Once I was satisfied with the placement I drilled holes for the wooden dowels.


Next step will be the webbing. One side is stapled down and the webbing is pulled with a stretcher to tighten it up.
Using long staples and reinforcing them with a second row over the top will keep the webbing from coming loose.

Once the webbing is finished, It’s time to start installing the springs. Each spring is sewn down by hand. There are quicker ways of doing it, like with hog rings, but they lack the level of quality and workmanship. Each time the needle passes to the underside it’s wrapped around the needle to form a knot. It’s also wrapped around the clip multiple times holding the spring together.

Knotting the thread around the needle with each pass.

Next the springs will need to be tied. The springs will be compressed slightly while holding the them in alignment and maintaining tension on each length of twine.
When finished you should be able to pull any spring to the side and have all of them move.

Repeating the process on the back. You’ll also notice the extra brackets I put on the wings. I’ve repaired many chairs with breakage here. I’d rather go overboard than have issues down the road.

Putting the first protective layer over the springs. The canvas is held up to the wood brace on the side and marked, then cut to fit through the openings.
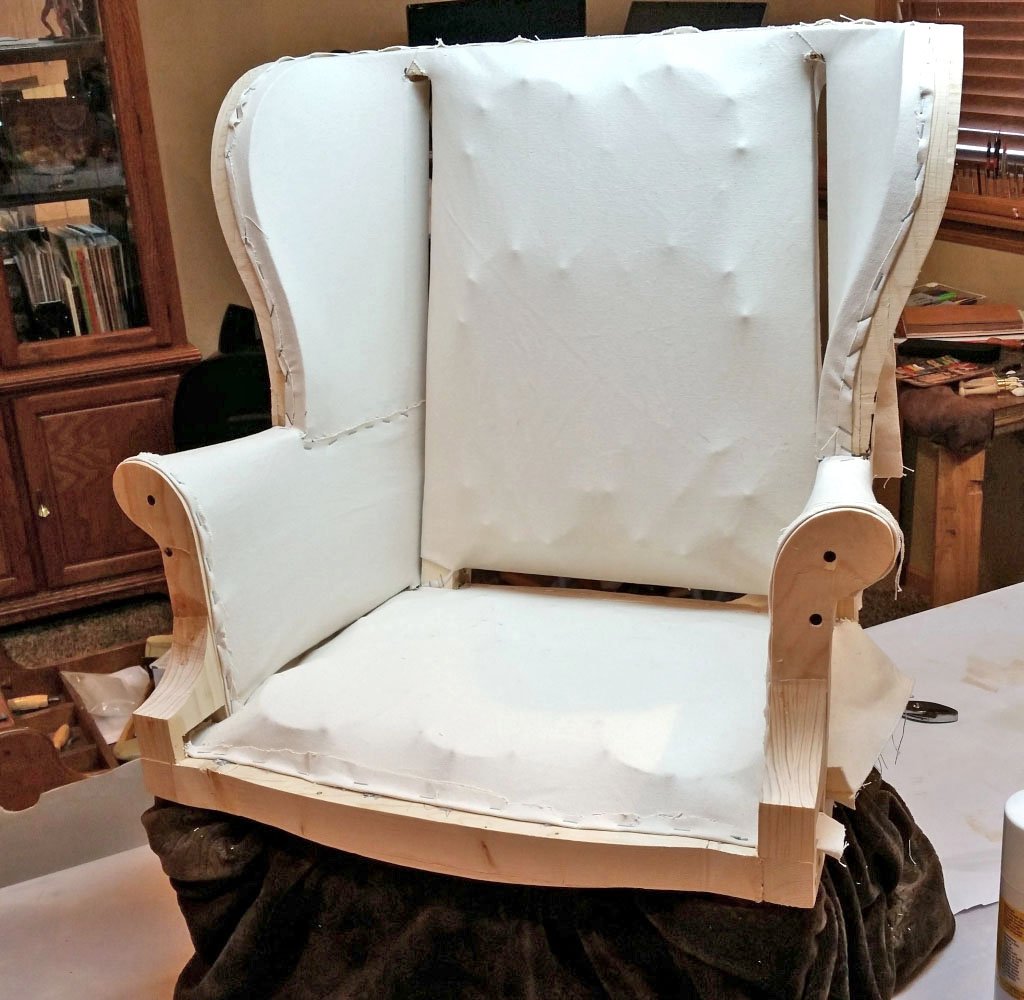
The first layer of canvas is finished. I also added a bit of stuffing underneath the arms to start to fill them out.

All the empty spaces will be uniformly stuffed then covered over with canvas. This will help keep the chair from feeling weak and hollow. It also helps support the material from wearing in and stretching over time, maintaining the pillow-esque quality.

Unevenness in the stuffing is manipulated with a long needle.
Even though the layers will be covered up, it’s important to keep everything smooth and uniform.

Now it’s time to start building up the decking. Stuffing is filled around the perimeter, and across the front. Some around the springs will also help flatten everything out.

When the surface is sufficiently even a piece of dacron is placed over the top. Some minor adjustments may be made with a long needle.

Another thin layer of stuffing with a piece of canvas over that. More suffing added into corners to square it up.
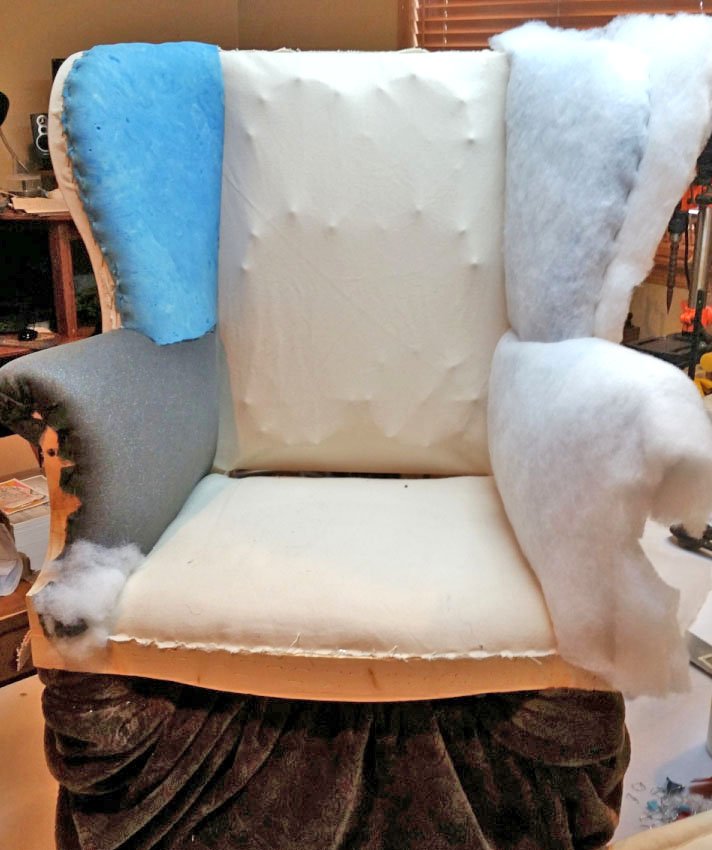
A layer of foam and a bit of stuffing to fill in gaps over the arms and wings. Then a layer of dacron over the top to smooth and soften it out. Dacron will also help protect the padding from dirt and oils. The foam will last much longer this way.

Creating a nice square shape by sewing an edge roll to the top of the deck. Edge roll can be bought pre-made or you can make it with a strip of material and padding like I did here.

Doing the same thing to the back of the chair as I did to the deck. Filling in the low spots, around springs, and around the perimeter. However, only one layer is needed since the foam is next.

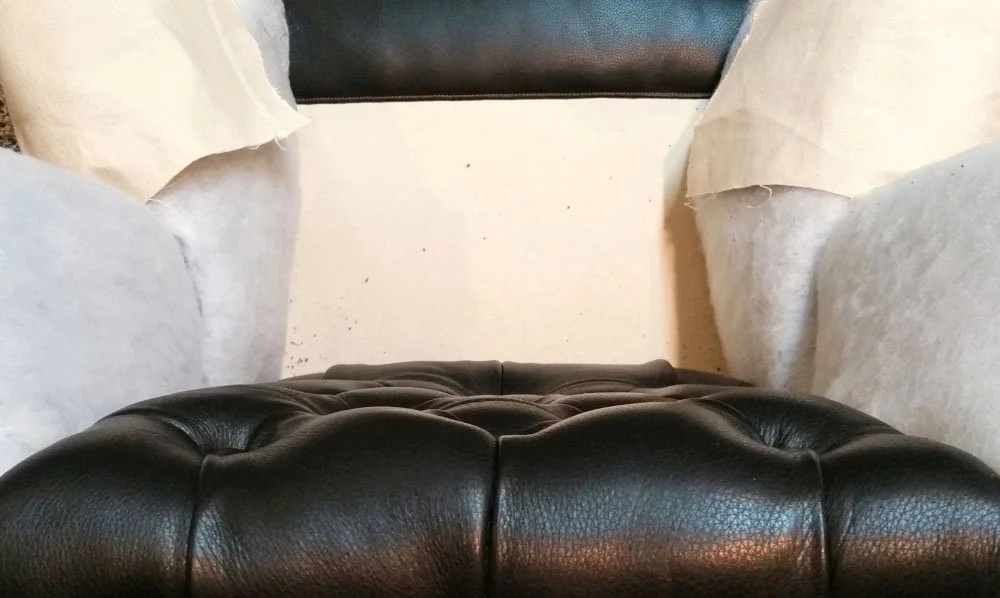
Button holes cut into the foam. I prefer to only go two thirds of the way through.


Fill all the gaps and uneven spots with stuffing, like underneath and around the edge roll. Using burlap over this layer makes it a bit easier to resituate the filling with a long needle. After the burlaps stapled down I sewed back and forth going through the corner to pull the deck into shape.
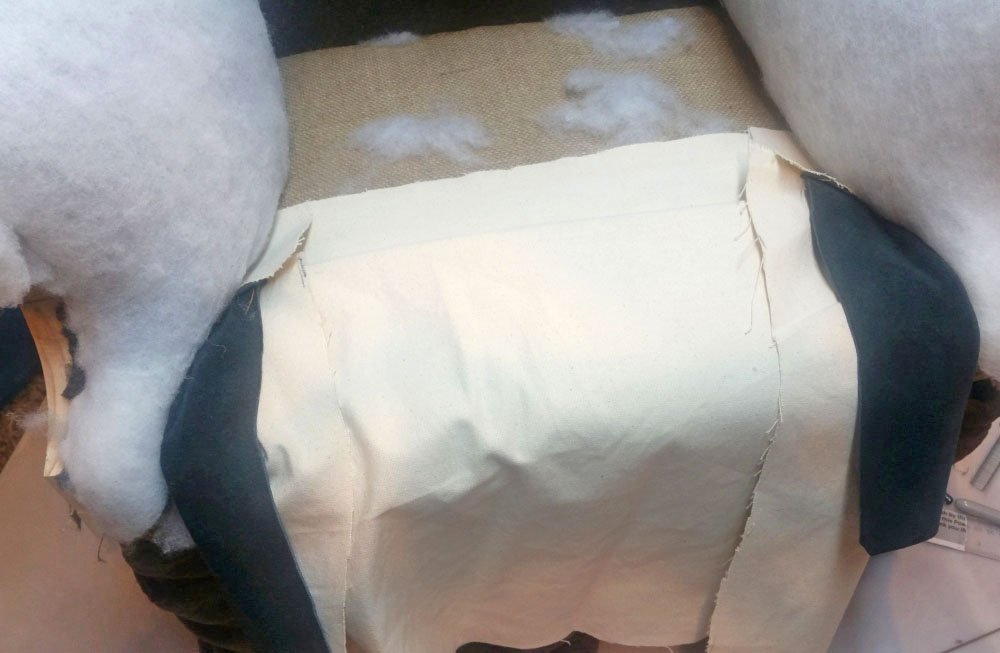
The final layer of the deck will be the upholstery leather and decking material (I use canvas). It will be sewn by hand to the layers underneath right across the seam.

I didn’t get a picture from right after the step above. But what you’ll do is add a layer of padding and fold the front down to create the raised front coming from the seam where it’s sewn down to the deck underneath. This helps with comfort and to keep the cushion in place.

As I’m stapling down all the layers I keep in mind there are more to come. The staples are strategically placed so that as I’m finishing up I won’t be fighting through a pile of previous staples.

Since the leather is thick the pieces for the buttons needed to be skived to thin down the edges.

While tufting looks nice when it’s done. I’m pretty sure it was invented in a dungeon somewhere as a form of punishment! HAHAHA
As the buttons are pulled through and tied on the back I make sure they’re uniform and straight. This is also a good time to make sure the slight lumbar and upper section are formed for comfort.

I like to staple some twine used for tying the springs across the back. I do this to reinforce the buttons. It helps keep them from pulling out through the back webbing. Either way you’ll want to roll up a piece of strong material to tie the button thread around.


Sometimes when I’m upholstering in leather I like to make a template out of extra material first. That way I only cut what I need from the leather hide.

It’s imperative that the cushion fits just right. Here I am working on the pattern with a piece of extra material.
I ended up having to sew the cushion twice. The first time around wasn’t fitting quite right.

Pattern for the welted boxing.

Sewing the top panel of the cushion. I used a different type of leather for the welts (along with the back and sides of the chair). It breaks up the monotony of the softer pebble grain leather.

Usually with upholstery fabric I’ll fold the seams together where the welting meets. Since leather is thicker and folded seams can be more noticeable I skived a piece to cover the seam. Not too thin however, it needs to be able to take some wear and tear.
It’s also good design to have the seam meet right in the center where the fold for the tufting on the back is.

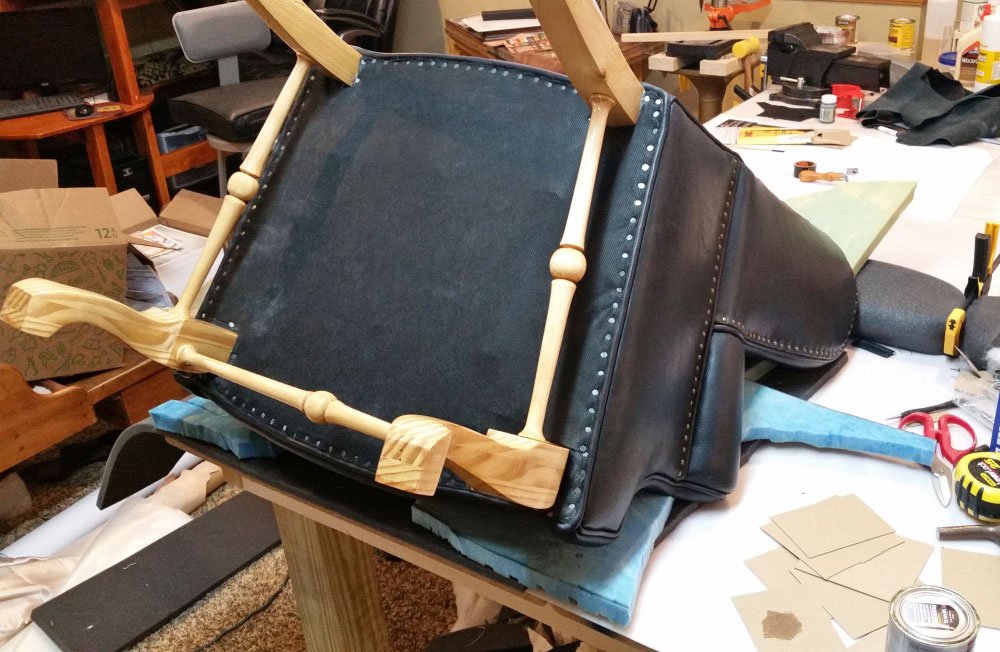
The welted boxing around the top edge is almost done. I’m also in the process of blind stitching the wing to the arm.

When it doesn’t affect the strength of the upholstery it can be good to trim out sections of the border welt to get everything to lay flat. You can see in the picture I cut out a section across the welt so it will lay smoother where the webbing is stapled.

Stapling a welt around the front area of the arms where the panels will be attached to cover up all the staples and such.

Front panels are on. I also have the welt and boxing across the front bottom edge.

Unfortunately when I took off the blanket I wrapped around the legs to protect them they were pretty banged up. It’s a good thing I don’t mind sanding. I sanded and re-sealed the legs.
All that’s left now is to cover the bottom with some cambric.


Thanks for reading! Tony Allen Bernier