
How to make diorama rocks from leather dust or sawdust.
To get realistic diorama rocks you’ll learn techniques like paint washes, dry brushing, and adding iridescent veins.

I've made a few dioramas using these techniques. From tiny 3" inch pieces that can be done in a day, to large elaborate pieces that took months. My younger daughter made a small tree a couple years ago when she was 9 that came out really nice. Projects using these techniques are easily scaled to a persons skill level. In this article, I'll be teaching you how to make some easier small diorama rocks. If you'd like to see the entire process for small tree dioramas check out my video that covers things like bushes, ground cover, and flowers.

Start by placing a bit of standard white PVA glue like Elmer’s school glue into a pile of leather Dust (Pic 1).
If you’re using sawdust you’ll want to make sure you sift it to use only the fine particles.

Mix it together adding more dust until the ball gets to the consistency of clay (Pic 2).

Once it's to that point rub some dry dust on your fingers so the ball doesn't stick to them, and form it into shape (Pic 3).
You may need to add more dust while you're forming it as the glue soaks in. Don't worry if it starts to come apart a little and form cracks. That will just add to the realistic feel. However, you don’t want it so dry that it starts to break apart.

If you’re making rocks to sit in a diorama you may want to use a flat surface to form the bottom (Pic 4).
This will help give the appearance that they’re bigger than they seem and imbedded down into the ground.

Using a tool is helpful to refine the shape and sharpen the edges (Pic 5).
You’ll also have the opportunity to carve and sand it into shape after it dries.

Something I sometimes do is take a larger rock and break it in half, put some dust in between the two halves and form them together (Pic 6).
When positioning the completed sections place them close together to suggest a large rock that split at some point.

After they've had time to dry, sand to get rid of some of the fuzziness (Pic 7).

It’s also possible to carve them. Usually I do that when making larger rock faces in bigger dioramas (Pic 8).
If you do carve the rocks I would also suggest sanding the sharp edges to get a more weathered look.

The next step is to add a base layer of color. I usually go with a slightly off-white acrylic paint. A light gray will also work. If you’re trying to replicate specific rocks go with a light tone of the main color you see in the example you're using.
You'll want to paint your base layer on relatively thick (Pic 9) to help fill in sharp edges and mat down any fuzz that didn't get sanded off.

After the base layer is dry mix up a couple colored washes, one part paint to a minimum four parts water, depending on the intensity you want the underlining colors to have. You can use anything from browns and blues, to reds and oranges.
Apply the washes randomly to your rocks (Pic 10 and 11). If the color is too bright just dip your brush in plain water and go over the rock again. You can also blot the paint off with a paper towel.

When the first colored wash is dry, do another wash with black (Pic 11). Other dark colors will also work.
If you're trying to replicate an example you are working from look at the darkest tone in the cracks and shadows. Use a color that matches that tone.

Brush the dark wash over your rocks using the same minimum four parts water to one part paint.
If you need the underlining colors to stay as bright as they are go quickly. If they're too bright you can go-slow and even let them sit for a minute while the moisture reconstitutes the paint underneath. Then go over them again to pull some of the underlining color off (Pic 12). Make sure to set them aside to dry If you leave them in a puddle it will distort the color around the base.

The last step will be a slightly off-white dry brushing. If you're making a diorama with your rocks this step may be done before or after they’re installed (Pic 13 and 14).

Take some off-white paint at full strength worked into your brush and go over a piece of paper or paper towel to get almost all the paint off. Then go over your rocks gently. It should take several strokes to work the color up to the desired level (Pic 13 and 14).
The trick is to barley touch the rock with your brush just nicking the high corners and edges. This will add a nice weathered look. I like to have a lightly damp paper towel near by in case I go a bit overboard with the dry brushing. That way I can grab it quick and gently rub some of the excess off.

There's another technique I like to use from time to time for some cool looking iridescent veins in the rocks (Pic 15). You'll need a iridescent medium without any color added.
Use a fine brush to work the medium into the area you want. I like to go into low spots and cracks. That way it doesn't look "built up" or thick on the surface. You could also brush over an entire rock and wipe away the excess. The whole rock will have a bit of sheen to it while leaving more in the low spots.
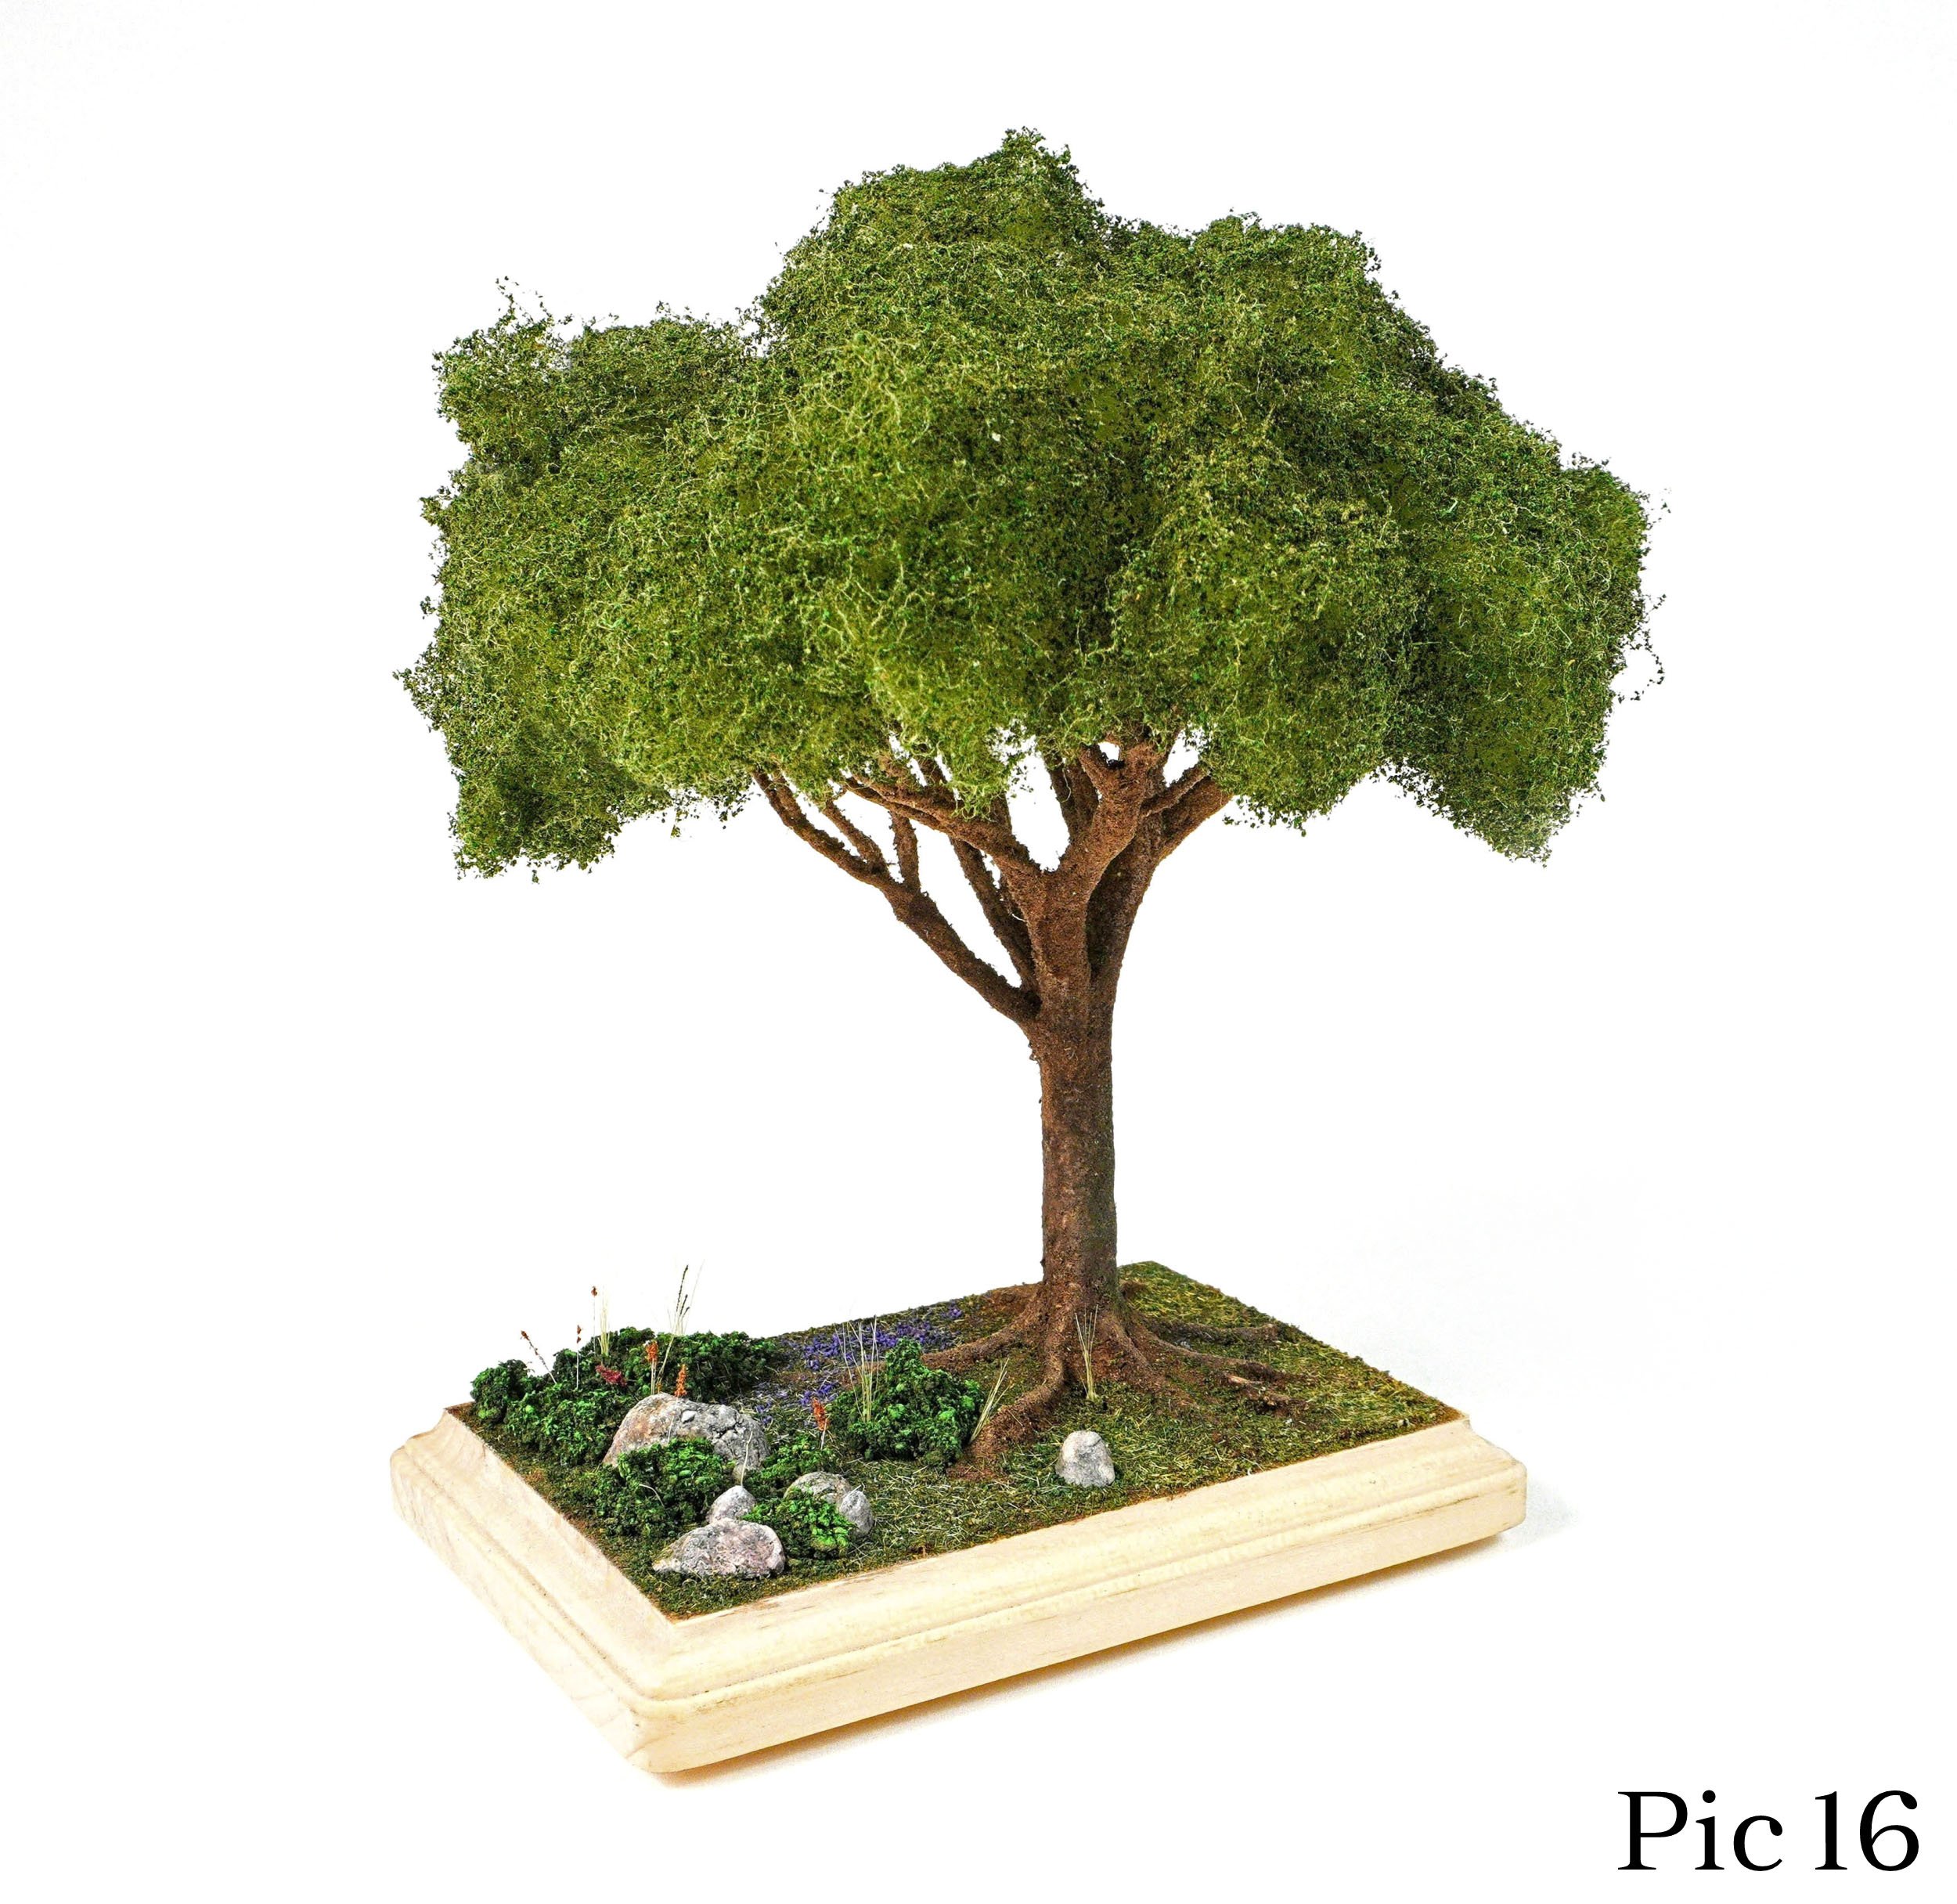
If you'd like to learn how to make small deciduous style tree dioramas (Pic 16), or more techniques using leather dust like making gravel or tree foliage. I have a complete online video course. Diorama Kits for the various trees are also available in my shop.
Thanks for reading.
Tony Allen Bernier